
Using LLMs with dLocal
Boost your dLocal integration workflow with LLMs.
Agentic integrated development environments (agentic IDEs) transform software development by directly embedding AI-powered assistance into coding workflows. You can use them to streamline your dLocal integration in various ways.
We offer tools and best practices to help you make the most of this new development approach.
LLM features
These tools improve how AI assistants interact with our documentation, helping you quickly access relevant content and streamline routine tasks.
Use cases
These tools support different parts of your workflow, whether building tools, writing scripts, or looking for quick answers.
| Feature | Description | Benefit / Use |
|---|---|---|
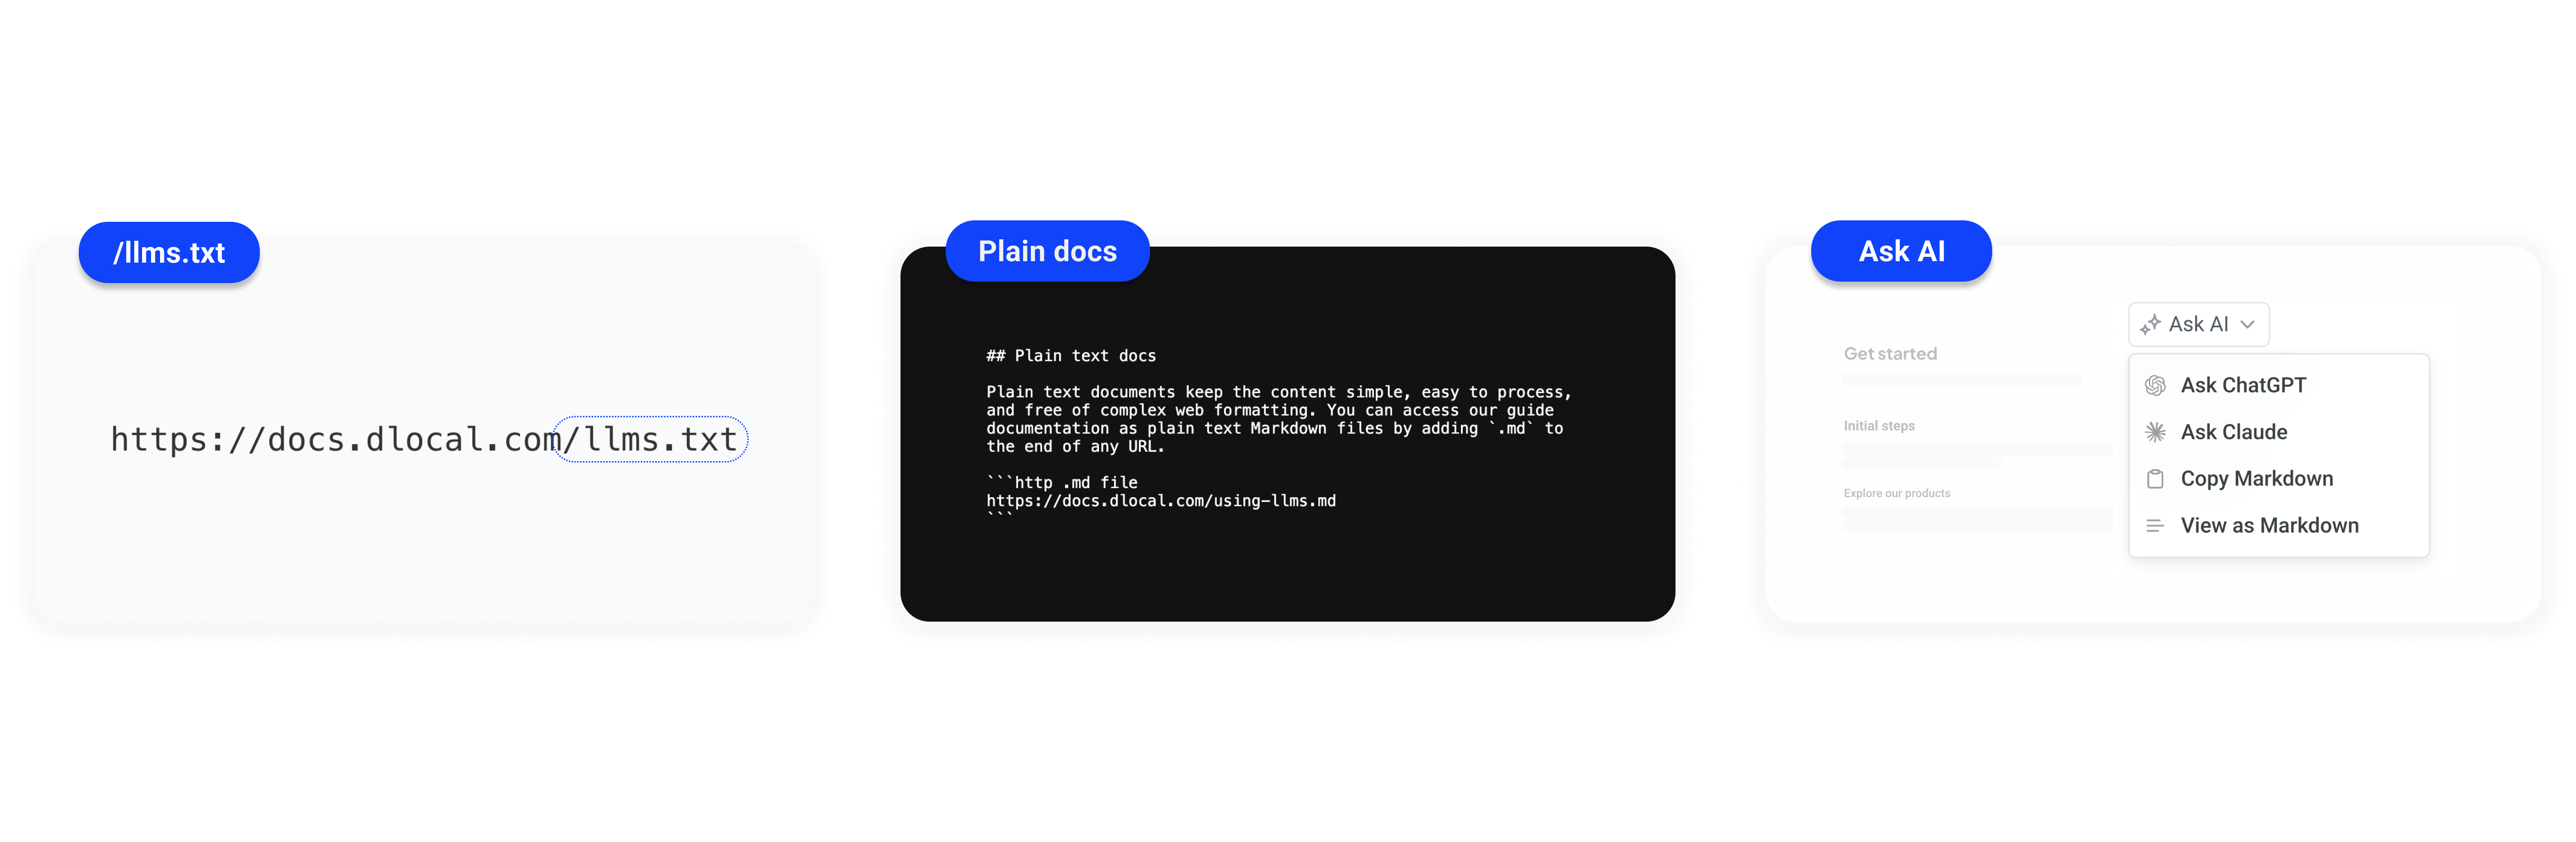
Plain text (llms.txt) | A plain text file located at the site's root instructs LLMs on reading and processing the documentation. | Provide AI models with clear instructions on how to parse and prioritize your documentation content effectively. |
Plain docs (.md) | Documentation pages are available in raw Markdown format by adding .md to the URL. | Copy and reuse documentation content, process pages in scripts or tools without HTML clutter. |
| Ask AI | Each page has a dropdown menu that links to AI assistants (like ChatGPT and Claude) and offers utilities for easy content use. | Send content to your preferred AI tool quickly and speed up your workflow with fewer clicks. |
Setup and resources
Find everything you need to make LLMs work better with your dLocal integration.
LLMs text file location
The /llms.txt file follows a developing standard that helps websites guide LLMs on handling their content. You can find the /llms.txt file at the root of the site:
https://docs.dlocal.com/llms.txtPlain text docs
Plain text documents keep the content simple, easy to process, and free of complex web formatting. You can access our guide documentation as plain text Markdown files by adding .md to the end of any URL.
https://docs.dlocal.com/docs/using-llms.mdAsk AI
The Ask AI dropdown appears as a menu icon in the guides.
It links to AI assistants (ChatGPT and Claude) that can explain concepts, answer questions, or generate code examples based on the page content.
It also includes handy tools for working with AI-generated content, such as Copy to Clipboard and View as Markdown.
dLocal Model Context Protocol (MCP) Server
Model Context Protocol helps organize and manage the correct information to language models (LLMs) so that they work correctly in specific situations. It allows us to connect AI-powered tools (like custom assistants or IDEs) to our APIs and services.
The dLocal MCP server acts as a bridge between your AI agent and dLocal’s systems. It provides a standardized way for agents to search internal knowledge bases (like docs, support articles, and FAQs).
The server currently provides documentation search, not tools for looking up individual transactions, generating proof of payment, or performing payout actions.
Remote server
We provide a remote MCP server, available at:
https://mcp.dlocal.com/integrationStep by step
To connect to dLocal MCP server, follow the steps below using your preferred MCP client:
Step 1: Edit your MCP Client configuration
Each MCP client has a different configuration format. Follow the client-specific instructions below.
Merchant context
Use the x-merchant-id HTTP header to specify the MID of the account in MCP Server requests.
To find the MID, log in to the Merchant Dashboard. The ID is displayed next to the account name in the top-left corner of the screen. If you have multiple accounts, make sure to select the correct one first.
This header is optional but recommended. It identifies the merchant in MCP Server requests. The current documentation search does not use the MID to filter or rank results. Replace YOUR_MERCHANT_ID in each example with your actual MID. If you do not have one, remove the header setting instead of sending the placeholder.
Client-specific instructions
Follow the steps below based on the MCP client you're using.
Integration with Visual Studio Code (VSC) Copilot
Create a .vscode/mcp.json file in your project root with the following configuration. If the file already exists, add the server to its servers object rather than replacing the other entries:
{
  "servers": {
    "dlocal-integration-mcp": {
      "type": "http",
      "url": "https://mcp.dlocal.com/integration",
      "headers": {
        "x-merchant-id": "YOUR_MERCHANT_ID"
      }
    }
  }
}
If the .vscode/mcp.json file is present in your project, the MCP server will be detected. Start it from the MCP configuration when prompted. You can verify the connection by asking Copilot to use the dLocal documentation tool. See the VS Code MCP server guide for other configuration options.
Integration with Claude Code
Create .mcp.json in your project root with the following configuration. If the file already exists, add the server to its existing mcpServers object instead of replacing other entries:
{
  "mcpServers": {
    "dlocal-integration-mcp": {
      "type": "http",
      "url": "https://mcp.dlocal.com/integration",
      "headers": {
        "x-merchant-id": "YOUR_MERCHANT_ID"
      }
    }
  }
}
Save the file and approve the project server when prompted. See the Claude Code MCP guide for other configuration scopes.
Integration with Cursor
- Open Settings from the gear icon in the top-right corner.
- In Cursor Settings, go to the MCP tab.
- Click + Add new global MCP server and add the following configuration to
~/.cursor/mcp.json. For a project-specific server, use.cursor/mcp.jsoninstead. If the file already exists, add this entry tomcpServersrather than replacing other servers:
{
  "mcpServers": {
    "dlocal-integration-mcp": {
      "url": "https://mcp.dlocal.com/integration",
      "headers": {
        "x-merchant-id": "YOUR_MERCHANT_ID"
      }
    }
  }
}- Click Save to add the server. You can verify the connection by asking Cursor to use the dLocal documentation tool. See the Cursor MCP guide for other configuration options.
Integration with Windsurf
- In Cascade, open the … (Actions) menu and select MCPs > Open MCP config file.
- Add the following configuration. If the file already exists, add the server to its
mcpServersobject rather than replacing other entries:
{
  "mcpServers": {
    "dlocal-integration-mcp": {
      "serverUrl": "https://mcp.dlocal.com/integration",
      "headers": {
        "x-merchant-id": "YOUR_MERCHANT_ID"
      }
    }
  }
}- Click Save and enable the server in Cascade's MCP settings. You can verify the connection by asking Cascade to use the dLocal documentation tool. See the Windsurf MCP guide for other configuration options.
Integration with Codex
Open ~/.codex/config.toml, or .codex/config.toml in a trusted project, and add the following configuration. If the file already exists, add the server without replacing other entries:
[mcp_servers.dlocal-integration-mcp]
url = "https://mcp.dlocal.com/integration"
http_headers = { "x-merchant-id" = "YOUR_MERCHANT_ID" }
Replace YOUR_MERCHANT_ID with your actual MID, then use codex mcp list or /mcp to check that the server's documentation tool is available. See the Codex MCP guide for other configuration options.
Step 2: Save and enable the server
After updating the configuration, save the file and start or enable the server in your MCP client. If it does not appear, check your client's MCP settings and reload the client if needed.
Step 3: Test the connection
To verify the integration is working correctly, ask your MCP client: "Use the dLocal MCP documentation tool to explain what Delivered and Completed mean for a payout." The client should call dLocal_docs_overview and return documentation snippets. If the tool is missing, check that the server is enabled and that its URL and client-specific configuration are correct.
This tests documentation search, not a lookup of a real payout or proof of payment.
Updated 8 days ago